 AIVIDEOSUGC
AI Video: Start a Product Clip from Reference Photos
Add product reference photos, describe the scene, and review the finished clip against the details you supplied.
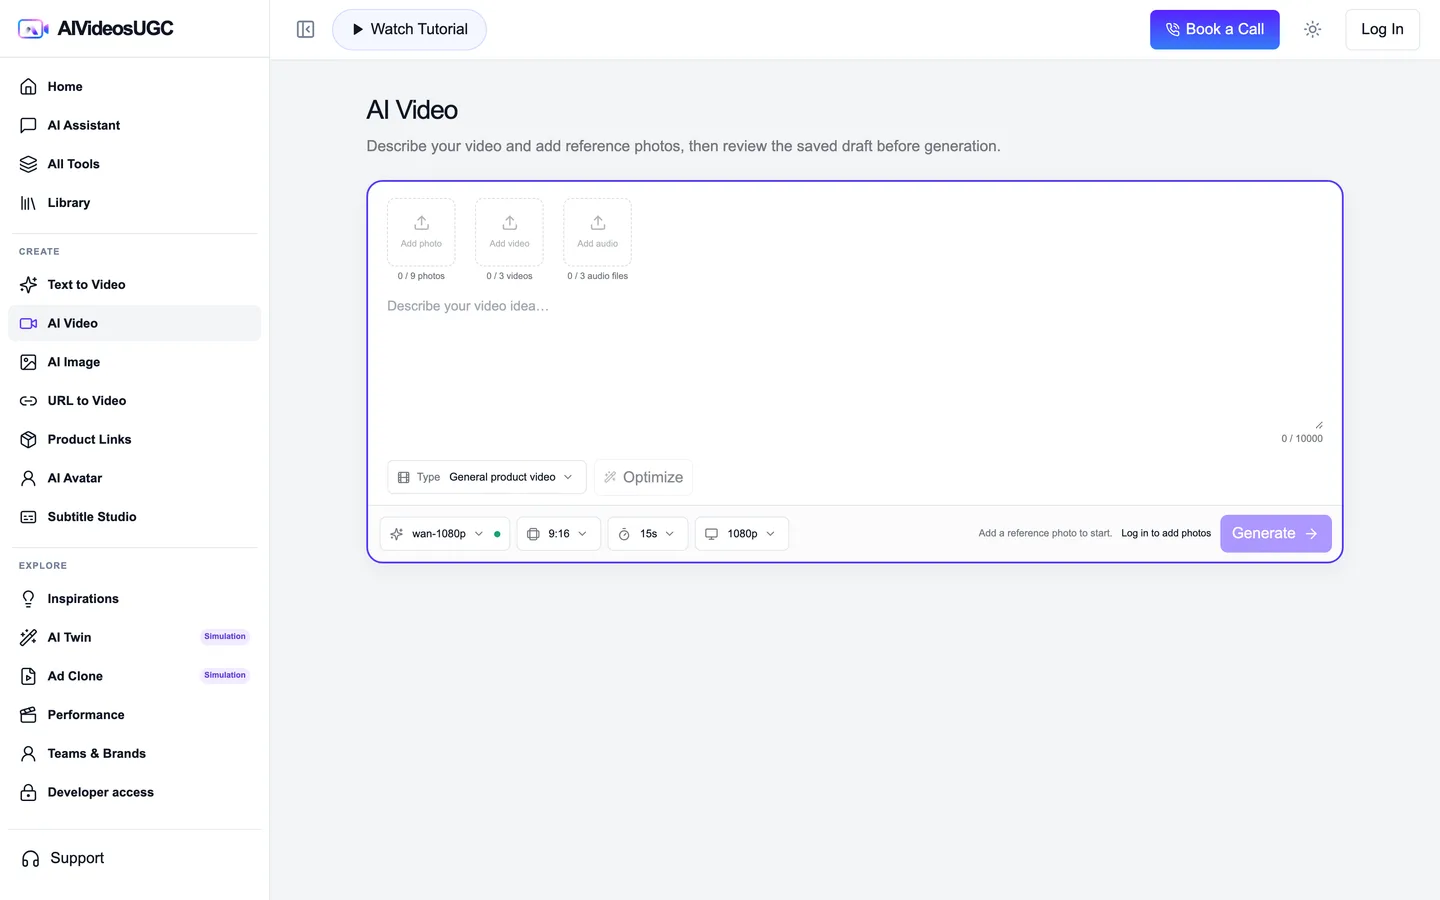
AI Video is for a clip built from product references and a written scene direction. It starts from visual material you provide; it is different from Text to Video, which starts from a brief, and Image to Video, which starts from one photo and one motion prompt.
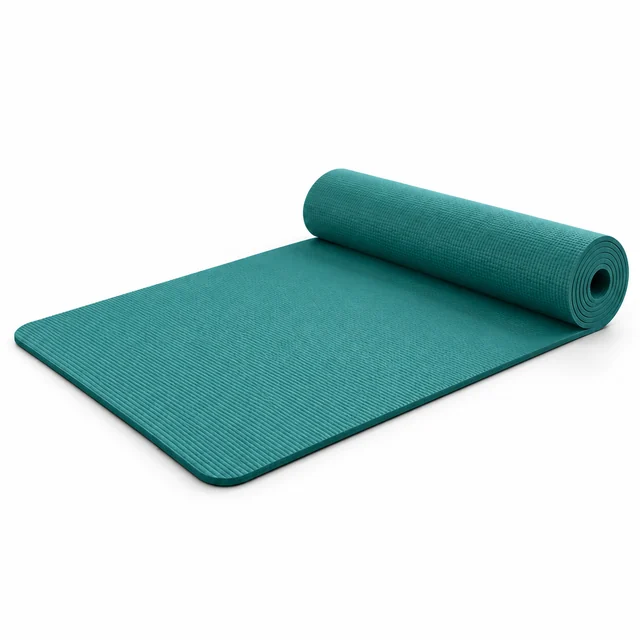
The yoga-mat imagery below is a homepage example. The short clip is a separate silent sample with captions already in the footage; it is not represented as the output of this tutorial run.
Product reference → scene direction → visual sample
The teal mat photo is the product reference. The gym presenter clip is a separate homepage sample for framing; it was not generated from this photo.
 Homepage fitness sample · separate from the mat example
Build a clip from product references
The exact controls depend on the available model. Follow the options shown in your workspace.
Open AI Video
Go to [AI Video](/app/create/ai-video-generation). If the workspace asks you to sign in, return to AI Video after signing in.
Add clear product references
Upload the photos that show the product clearly from the angles you want the model to use. Follow the current tool’s file-count and format limits; remove unrelated images.
Describe one scene direction
Say what should happen, where it happens, and which product details must stay visible. Keep the example focused on the mat unrolling and retaining its teal color.
Review the settings and estimate
Check the selected model, ratio, duration, and other controls on screen. Read the estimate before you start. If a control or model is unavailable, use one that the current workspace offers and update the example settings accordingly.
Generate and check the clip
Start the job and wait for completion. Compare the product silhouette, color, label, and action with the reference photos. Look for changes between shots before keeping the result.
Handle a failed or inconsistent result
For an upload error, follow the message shown for that file or model. If the product changes shape or the action is unclear, simplify the scene description and change one detail before retrying.
Checklist
- Every reference photo shows the intended product.
- The scene description names a visible action and key product detail.
- The chosen settings match what the workspace actually offers.
- The finished clip remains recognizable as the referenced product.