Product photo template

Product Packshot Photos for Multiple Views of Your Item

Product packshot photos start with a separate source photo for each side you want to show. Build a square set around the front, back, top, or base views buyers need in your gallery.

Drop your product photo hereJPG, PNG or WebP · any clear photo works
Template Every AngleSize Square 1:1Views One per run
Make my first view →See the cost before you start

Plans from $24.50 a month. You see the credit cost before every job, and if a job fails its credits go back to your balance.
Tip: Shoot each side straight on in daylight, and upload the back and base as separate photos so ports and labels come from your real product instead of a guess.
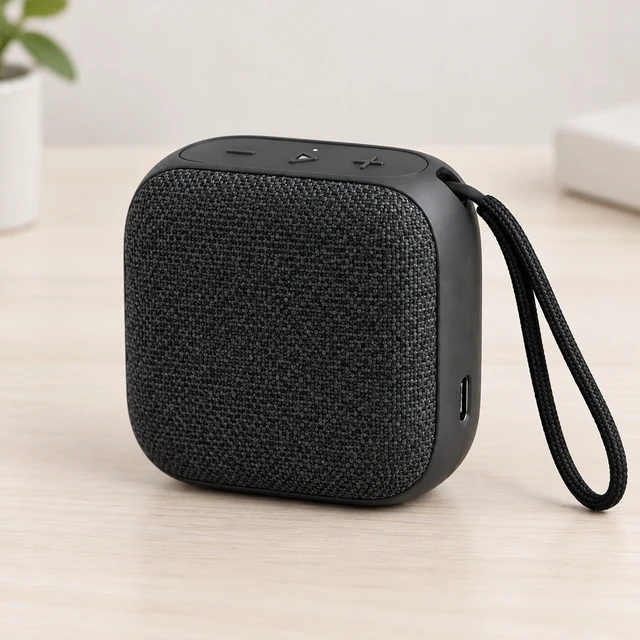
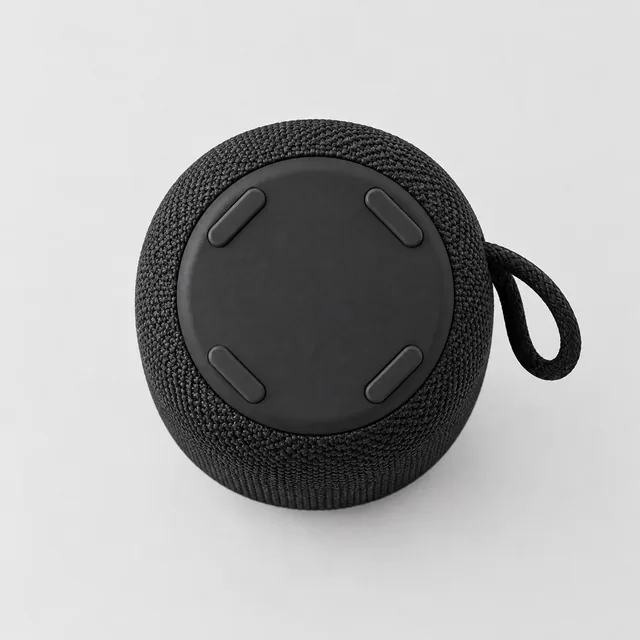
Unbranded black woven portable speaker showing its simple buttons, USB-C port and wrist strap on a pale tabletop.
Photo
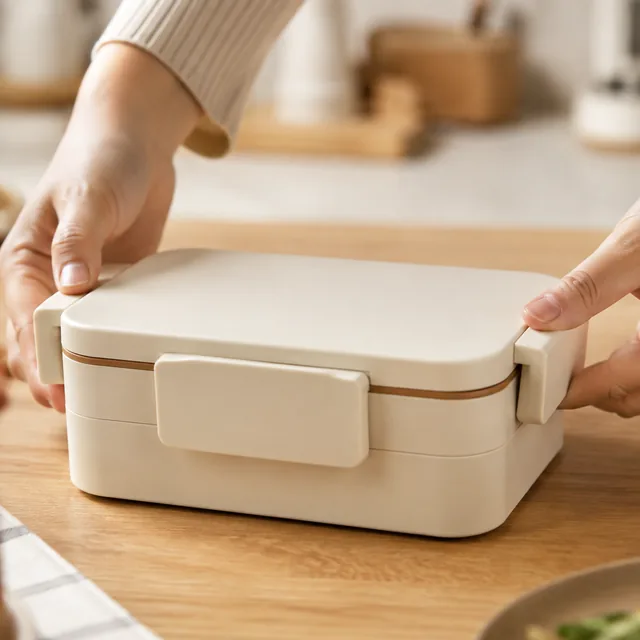
Bento lunch box lid snapped shut on a kitchen counter, hands at the edges.
Photo
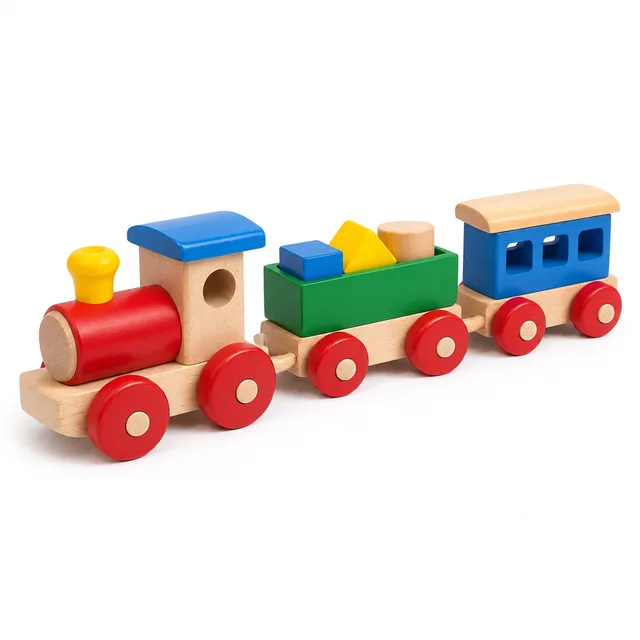
Wooden toy train set on a pure white background.
Photo
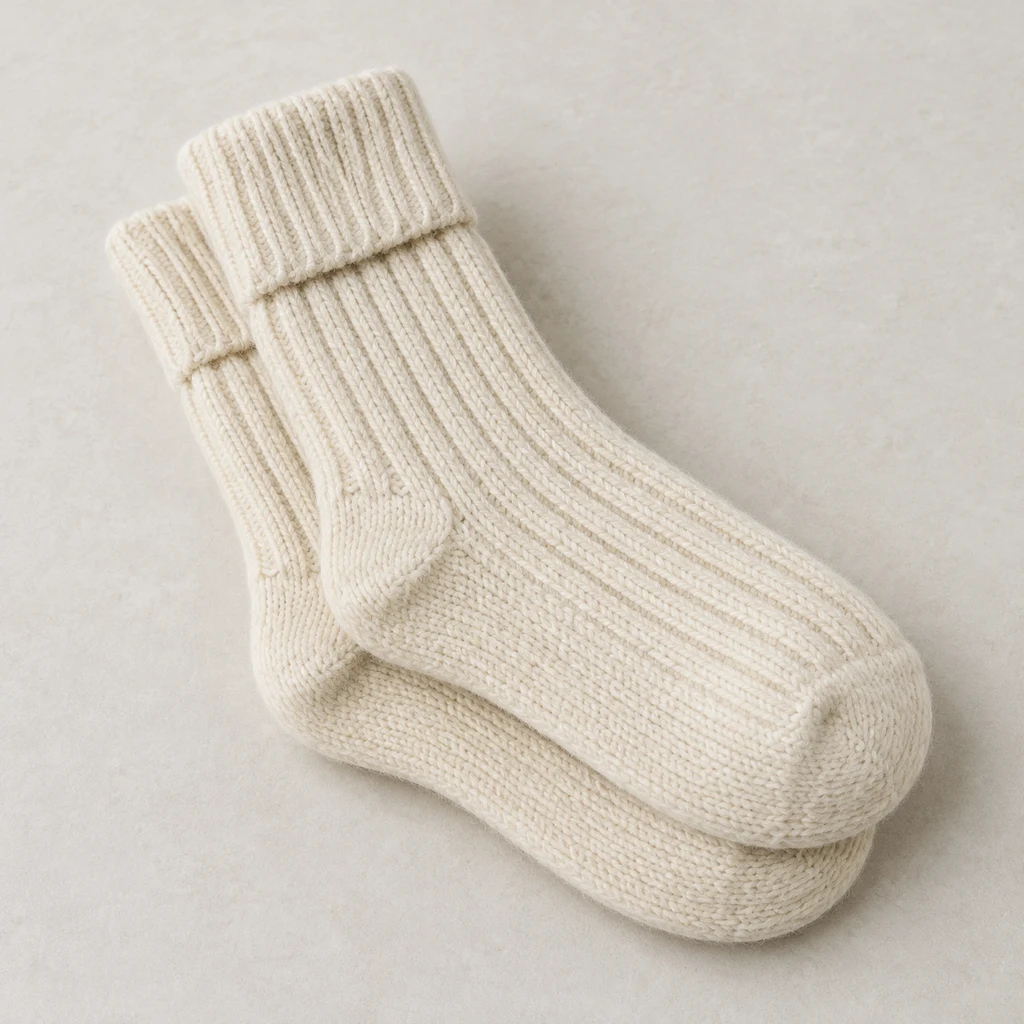
Folded cream merino wool socks with visible ribbed knit texture.
Photo
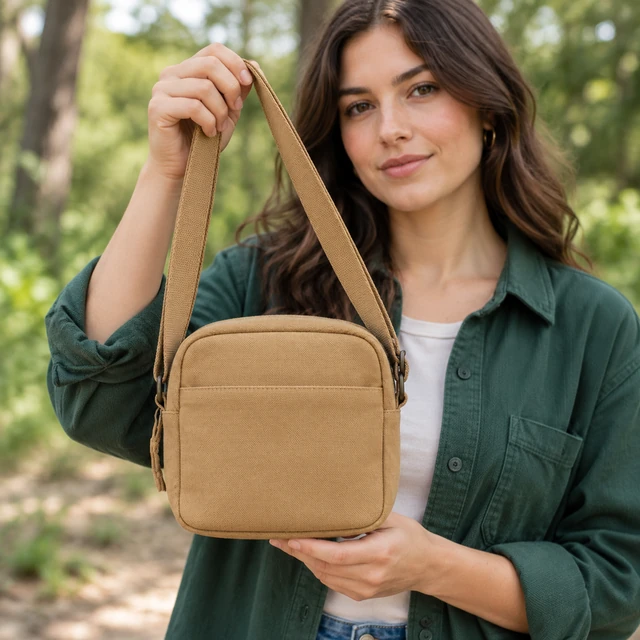
Person holding a small handbag at chest height against a plain wall.
Photo
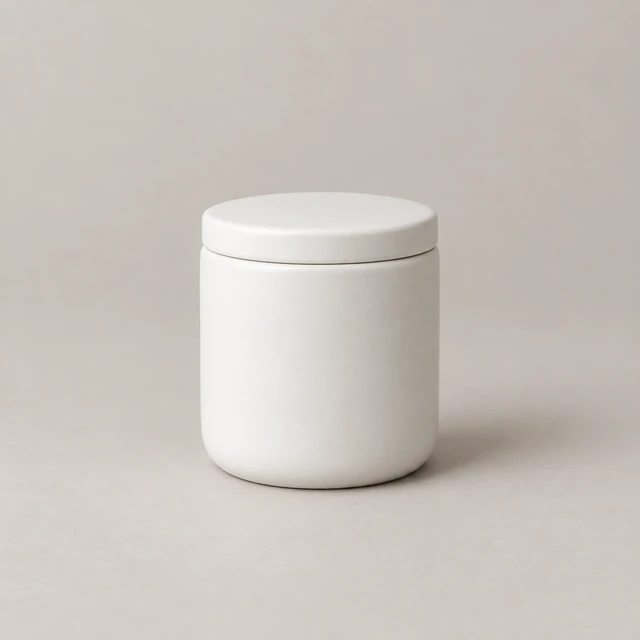
Plain white ceramic candle jar on a neutral surface.
Photo

Show the front, back, top, and useful details from separate photos of the real item. Use a steady backdrop so a product gallery reads as one set.

How it works

Make multi-angle product photos from real views

Unbranded black woven portable speaker showing its simple buttons, USB-C port and wrist strap on a pale tabletop.
Drop your product photo hereJPG, PNG or WebP · any clear photo works
Step 01

Upload one clear side

Keep the whole item in frame and face the camera toward the surface you want to show.

Photograph this compact rectangular portable speaker from the rear three-quarter angle, with its USB-C and audio ports visible, centered on a light-gray seamless background in a square frame.
Template Every AngleSize Square 1:1Views One per run
Cost24 credits
Step 02

Name the view and backdrop

Describe one side, such as the rear ports, then reuse the backdrop wording for the next photo.
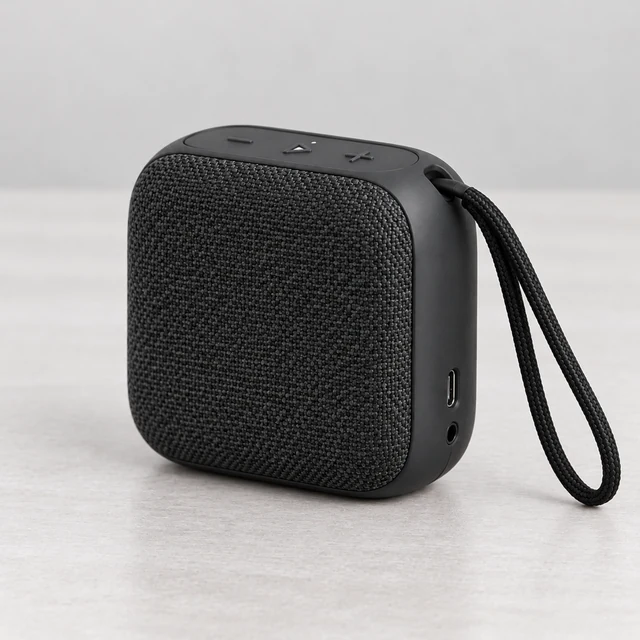
Rear view of the same compact rectangular black portable speaker showing its charging and audio ports.
Step 03

Add each angle to the gallery

Download the view, then place it after the main image in your store gallery.

Choose a scene

Choose the product angle shoppers need

Pick the surface or detail that answers a buyer question.

Where to use it

Use product angles on listings and stores

Adult holding a matte black smart speaker in a bright living room, lips closed.

Show a speaker in a living room

A person holding the speaker at home helps shoppers judge its handheld size.
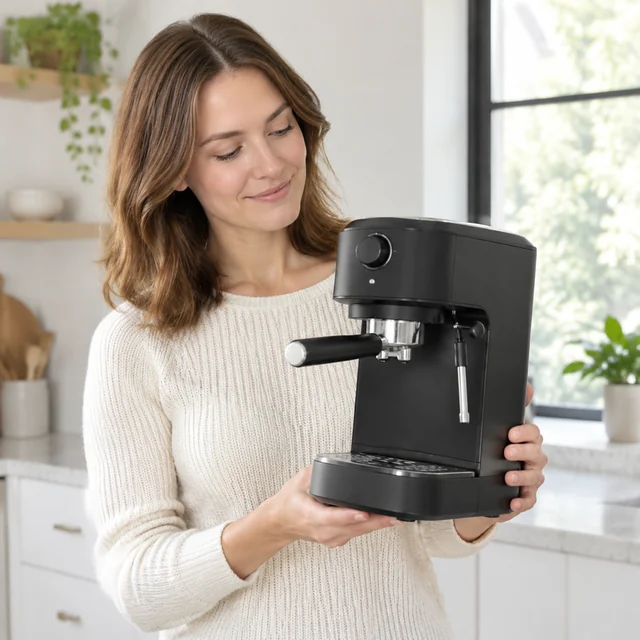
Presenter holding a compact espresso maker at chest height, looking at the product.

Show a compact appliance in a home setting

Place the compact espresso maker on a kitchen counter so shoppers can picture its size and finish.


Start with a clear photo

Start with a sharp product angle photo

✓
Front-facing product image of a matte ceramic travel mug with a clear silhouette
Travel mug rim stays sharp
✕
The same matte ceramic travel mug softened by heavy blur so its rim and handle lose definition.
Travel mug rim loses detail
✓
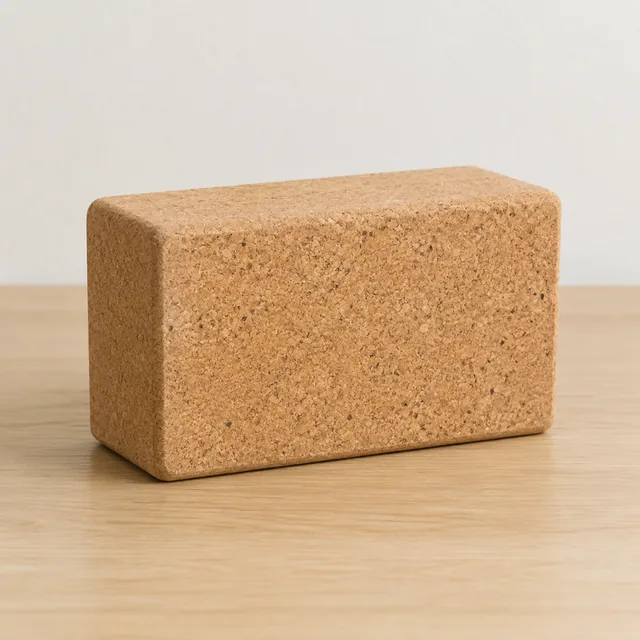
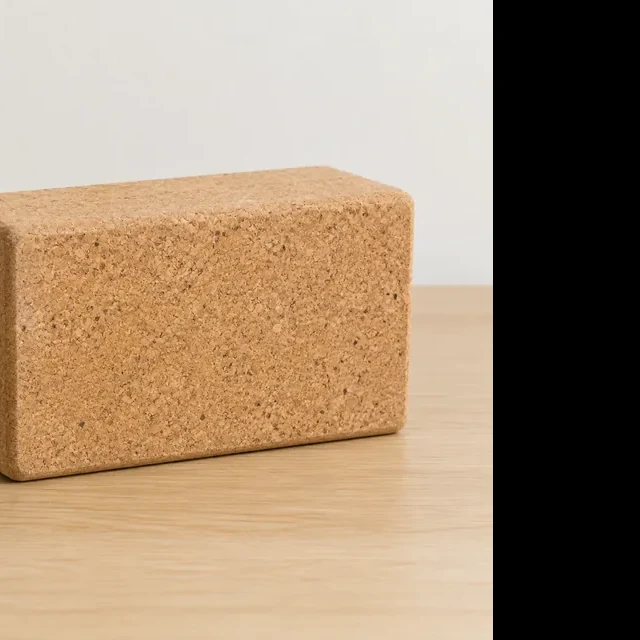
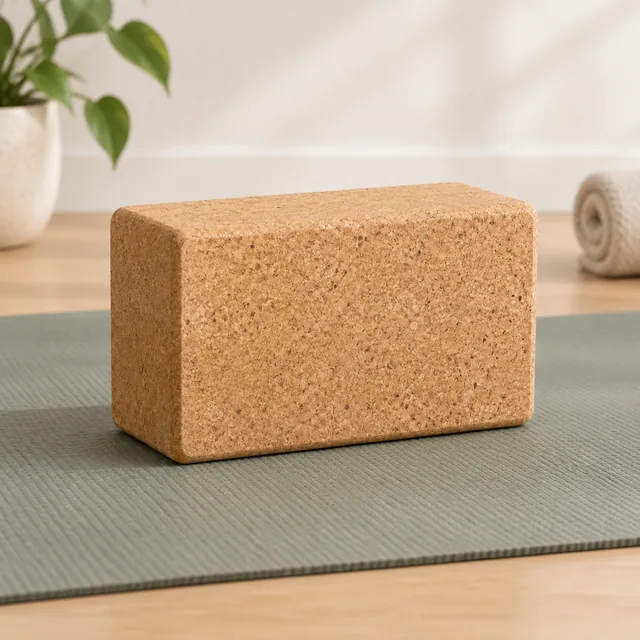
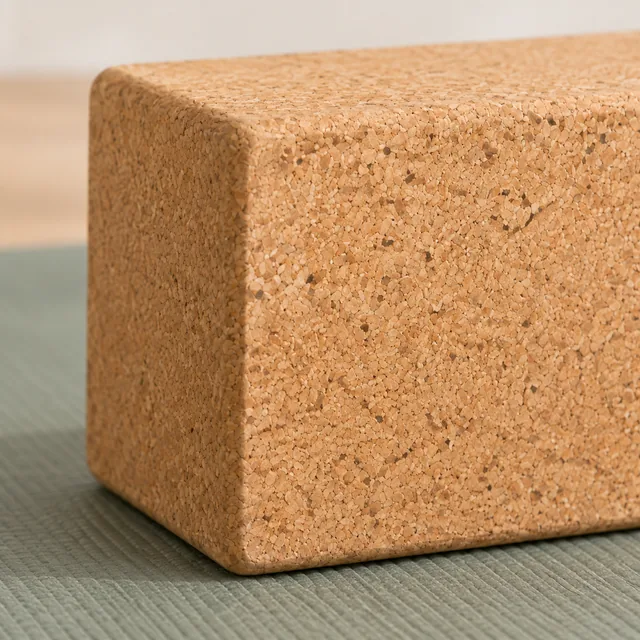
Cork yoga block on a plain table.
Cork block edges stay visible
✕
The same cork yoga block cropped tightly through its left edge.
Cork block is cut at the edge
Your result

Square product angle photo examples

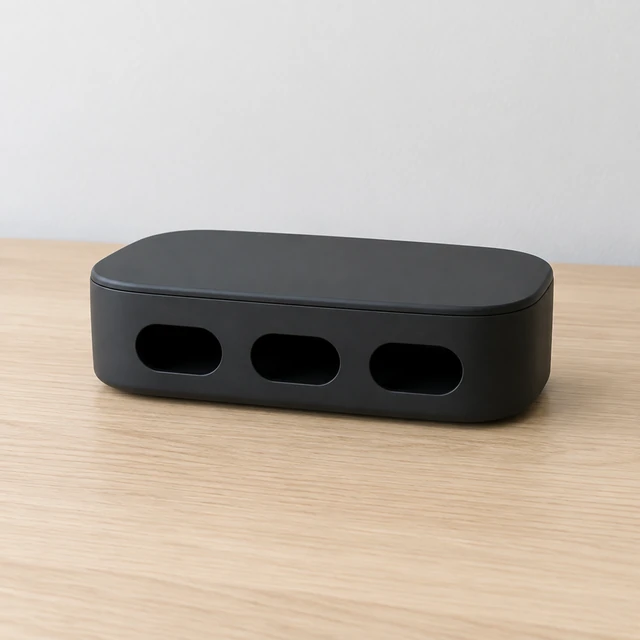
Compact matte-black cable organizer with three empty front slots.
Cable organizer on a clear deskSquare photo · 24 credits
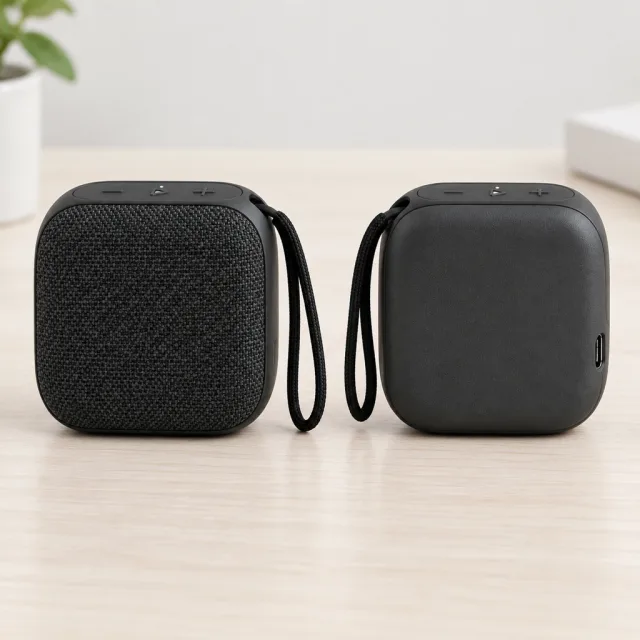
Square front and rear views of the same unbranded black woven portable speaker with a wrist lanyard and visible controls and USB-C port.
Square speaker views from the front and rearSquare photo · 24 credits
After download

Add measurements and labels after download

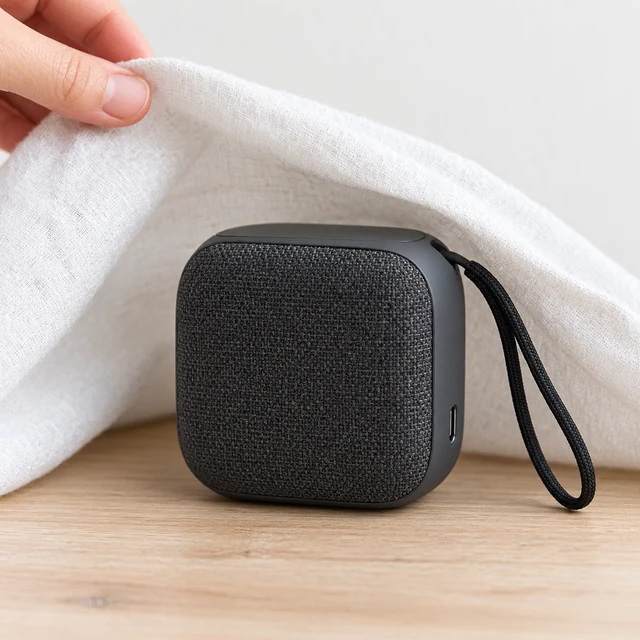
Black woven portable speaker with a wrist strap revealed beneath a white linen cloth on a pale wood table.
Gallery orderProduct details

These details are added in your editor after download.

  • Place the clearest front image first, then add the back and detail views.
  • Type dimensions and compatibility notes in your listing so they stay editable.
More templates

More creator-style photo templates

Choose another everyday scene, then add your product photo.
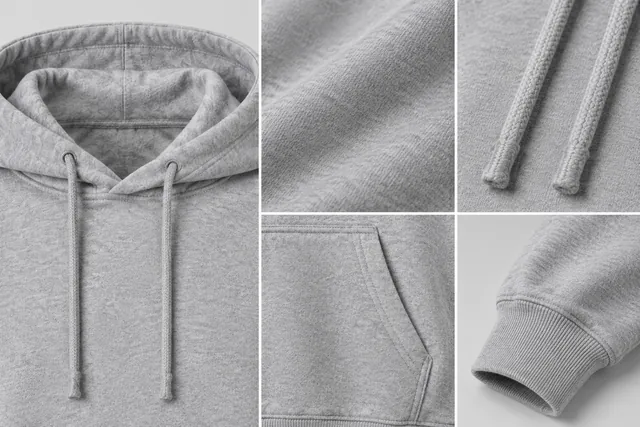
PhotoClose-up detail shots of a gray hoodie: the hood, the fabric, the drawstring ends, the front pocket and the ribbed cuff

Close-Up Details

Show materials and finish up close

Jewelry & AccessoriesAmazonShopify
Use this template →
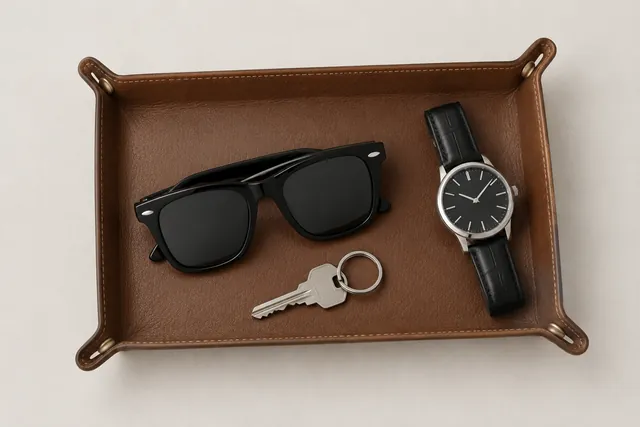
PhotoBlack wayfarer sunglasses, a wristwatch and a key in a brown leather tray, seen from above

What's in the Box

Show the full set or bundle

Beauty & SkincareAmazonShopify
Use this template →
PhotoLit candle in a white ceramic jar on a dark wooden table with a knit throw behind it

Studio Lighting

Turn a flat photo into a studio shot

Beauty & SkincareAmazon
Use this template →
Examples

More multi-angle product photos

Separate views make small product features easier to see.

FAQ

Questions about multi-angle product photos

Should I photograph each side separately?

Yes. Give the back, base, and close details their own sharp source photos when shoppers need to see them.

Can one photo reveal a hidden port?

Use a real photo of that side so the port and its placement come from your item.

Where do multi-angle photos belong?

Add the front first, then use side views to show controls, connectors, closures, or other product details.

Keep reading

Guides and articles

Try Every Angle with your product

Upload one product photo. See the cost before you start.