 AIVideosUGC
How to Get Model Photos Without a Photoshoot
You can get model photos without a photoshoot: a flat lay or hanger photo can become a picture of your piece being worn. Here's how to prepare the photo, describe the model, and catch the details AI can get wrong.
When AI model photos make sense
A model shoot means booking a person, a photographer, a location, and a day, then waiting for edits. That's hard to justify for a small run of hoodies or a handful of new earrings.
AI model photos fill that gap. You upload a photo of the piece, describe who's wearing it and where, and get an image of it being worn. They're handy for new arrivals, short production runs, print-on-demand designs, and trying out a style before you commit to a full shoot.
They're less suited to showing exact fit. A generated image can't tell a shopper how a medium will sit on their own body, so keep your size chart and measurements in the listing. More ideas for clothing brands are on our fashion and clothing page. A lifestyle product photo can show the same piece in a setting without implying a precise fit.
Photograph the garment so nothing is left to guess
Lay the piece flat on a plain sheet or hang it against a bare wall, and shoot straight on in daylight. Steam out wrinkles first, since creases in your photo can turn into odd folds on the model. Our product photo guide covers lighting and framing.
Get the whole garment in frame, with sleeves, hem, and collar visible. Turn it so the print or logo faces the camera. Photograph each color separately rather than asking for a color change, because a generated color may not match your actual dye.
For jewelry, use a plain surface, get close, and keep the clasp, stones, and chain in sharp focus. With small pieces, a crisp source photo matters more than anything else.
Describe the model and the setting
One or two sentences is plenty. Cover the person, the pose, the place, and the light. You don't need to describe the clothing in detail, since that comes from your photo. If you'd rather not write anything, the Clothing Try-On, Jewelry On Model, and Lookbook templates give you a ready-made starting point.
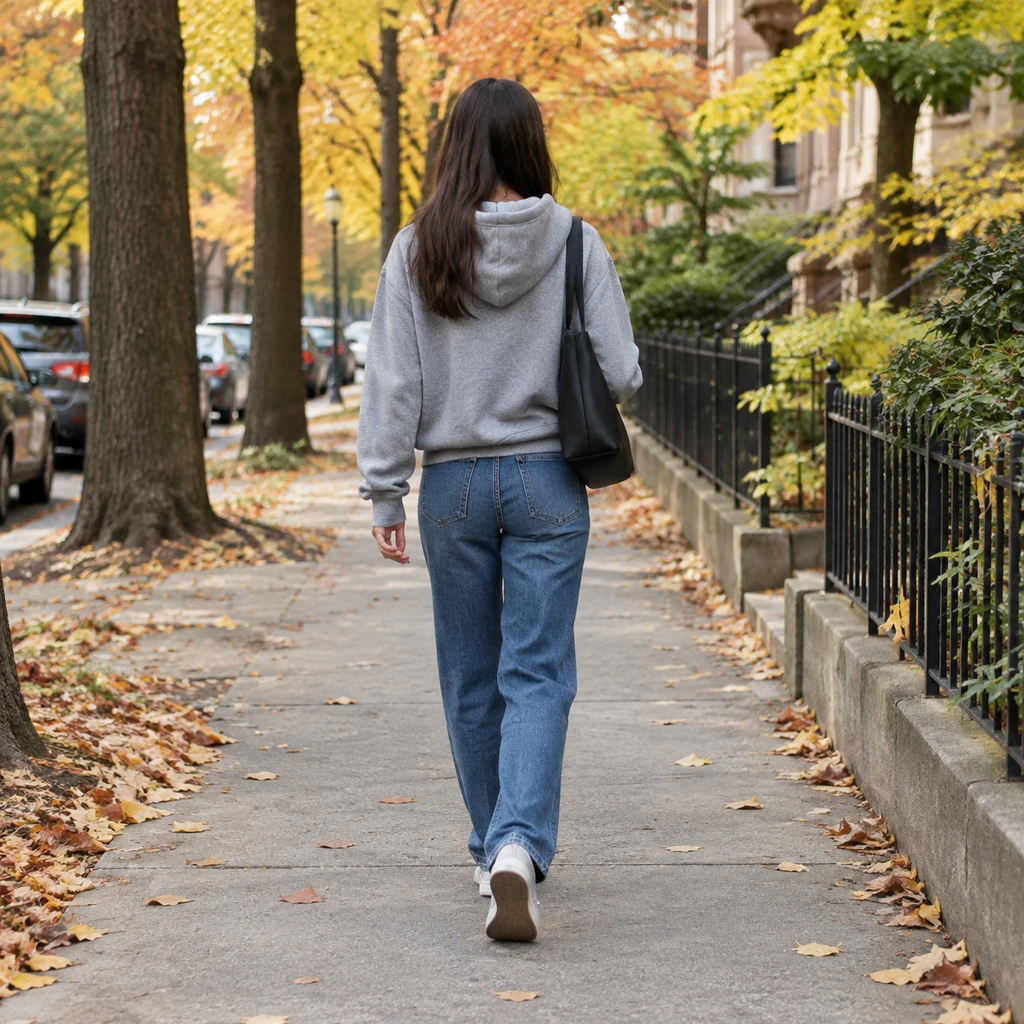
Some examples. Linen dress: "A woman in her 40s walking along a sunny beach path, relaxed smile, late afternoon light." Hoodie: "A young man leaning on a brick wall on a city street, hands in the front pocket, overcast daylight." Drop earrings: "Close-up of a woman's profile with her hair tucked behind her ear, soft studio light, neutral backdrop."
Use model examples that reflect the sizes and styles you sell, and keep the garment details visible for review. Don't describe a celebrity or ask for a lookalike; those requests may be refused.
Check the fit and the details
Compare each image with the real piece before you use it. Look at the neckline shape, sleeve and hem length, where the print sits, how many buttons there are, and which side the zipper is on. Stripes and checks should line up the way they do on the actual garment.
For jewelry, check the clasp, count the stones, and see whether a necklace falls where it should on the chest for its length. Hands and hairlines deserve a second look as well, since they're common spots for small glitches.
If anything doesn't match, make a new version rather than posting one that's close enough. Then run through Before You Publish: A Checklist for AI Content before the photo goes live.
Build a small set for each piece
For each item, plan two or three images: one full-length or full-view shot, one closer crop that shows the fabric or the stone, and one in a setting that fits how it's worn. Each is a separate request with its credit cost shown first.
When you have a few results, pick the ones that look like they belong together, with similar light and backgrounds, so your listing doesn't jump between styles. The examples page shows hoodies, handbags and boots followed from the first photo to worn and lifestyle images.
Put the photos to work
On a Shopify or Etsy listing, lead with a clean product shot and follow it with one or two on-model images, so shoppers see both the details and the piece being worn. They come out square by default, a shape that sits neatly in a typical product gallery.
For Instagram, a few on-model photos in different settings make an easy new-arrivals post. Add the price or a "New in" line afterward in Canva. Everything you make stays private in your account until you decide to post it.