 AIVideosUGC
AI Product Photography: Getting Usable Shots From One Photo
AI product photography can turn one clear photo of your product into a white background shot, a styled scene, or a close-up. Here's how to set it up so the results look like the item you actually ship.
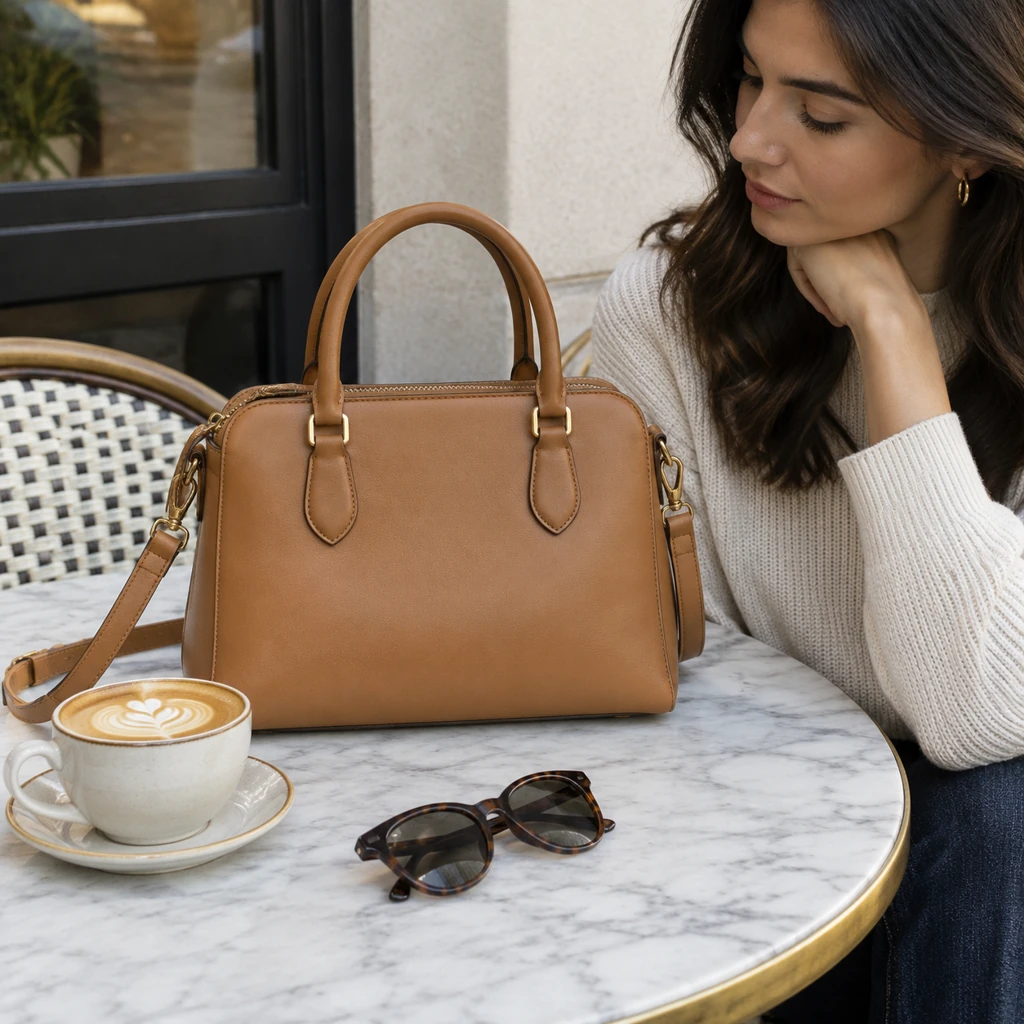
What AI product photography can do for a small shop
AI product photography starts with a photo you already have. In AIVideosUGC, you upload it, choose a template or describe the shot you want, and get a new image of the same product: on a clean white background, on a kitchen counter, under studio-style light, or worn by a model.
For a small shop, that covers a lot of everyday needs. A new listing needs more than one image. A seasonal post needs a fresh setting. A product that only has a supplier photo needs something that matches the rest of your store. For food and drinks, a clear package photo can become a serving scene without a new shoot. Instead of booking a shoot for each of these, you can make the images when you need them.
It won't replace every photo. When a buyer needs to see an exact detail, like the stitching on a bag or the ports on a charger, your own close-up is still the safer choice. AI images are most useful for showing setting, scale, and mood around a product that already looks right.
Start with a source photo that's easy to read
The new image can only be as accurate as the photo you give it, so a few minutes of setup here saves you from making the same image over and over.
Shoot near a window in daylight, with the product on a plain table or a sheet of white paper. Fill most of the frame with the product, keep it in sharp focus, and turn off filters and beauty modes on your phone. Peel off price stickers and move anything that isn't part of what you sell. Our guide to taking a product photo that works has the full setup.
Show the side you want buyers to see. If the front label matters, face it straight at the camera. For a set, lay out every piece you'll actually ship and leave out anything you won't.
Pick a look, then describe it in plain words
Templates are the quickest route when you already know the kind of image you need: a white background for a marketplace, studio lighting for your main product shot, a close-up for texture, or one image per color. When you have a specific setting in mind, write it out instead.
A useful description names the surface, the place, the light, and one or two props. For example: "A ceramic mug on a wooden kitchen counter, morning light from a window, a plate of toast blurred in the background." That paints a clear picture without crowding the product. To see how a plain starting photo turns into finished scenes, browse our AI product photo examples, from lipstick and hoodies to handbags and boots.
Leave out printed words, famous faces, and logos you don't own. Lettering inside AI images often comes out misspelled, and requests involving public figures or other companies' marks may be turned down.
Match each image to where it will appear
Decide where an image is going before you make it. Amazon, for example, asks for a pure white background on the main image, while the images after it can show the product in use, next to a familiar object for size, or up close.
On your own store, a consistent look matters more than variety. If your collection pages use soft gray backdrops, keep new images in that same style so the grid stays tidy. For social posts and feed ads, a lived-in scene with some empty space is handy, because you can drop your offer into that space later in Canva or Ads Manager.
Images come out square by default, which suits product grids, marketplace galleries, and feed posts.
Check the result against the real product
Before an image goes on a listing, put it next to the product in your hand. Look at color, shape, proportions, logos, and the number of parts. Zoom in on labels, buttons, and edges, where small changes tend to hide.
If something is off, don't try to cover it with a caption. Make the image again with a clearer description or a sharper source photo. Each new image is its own request, and you'll see the cost before it starts.
A simple rule: if a buyer could open the box and feel misled by the picture, that picture doesn't go live. More checks are in Before You Publish: A Checklist for AI Content.
Keep costs and files under control
The credit cost appears before each generation. If a job fails, its credits return to your balance.
Your uploads and results stay in your own account and aren't shown publicly, so you can try ideas for an unreleased product without them turning up anywhere else.
Checklist
- Use a sharp daylight photo with filters turned off
- Remove stickers and anything you don't ship
- Choose a template or describe the surface, place, and light
- Keep prices, headlines, and other wording out of the request
- Compare color, shape, and parts with the real item
- Add any text afterward in Canva or Ads Manager