AIVideosUGC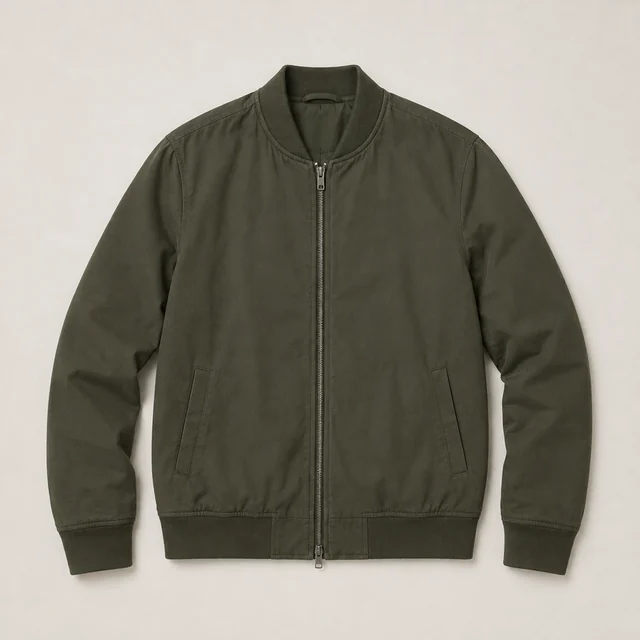
Drop your product photo hereJPG, PNG or WebP · any clear photo works
Step 01
Photograph the full garment
Show the collar, closures, pockets, sleeves, and hem in one clear view.
Use AI virtual try-on for clothing to create a visual preview of one garment on a model. It does not measure or verify fit.
Plans from $24.50 a month. You see the credit cost before every job, and if a job fails its credits go back to your balance.
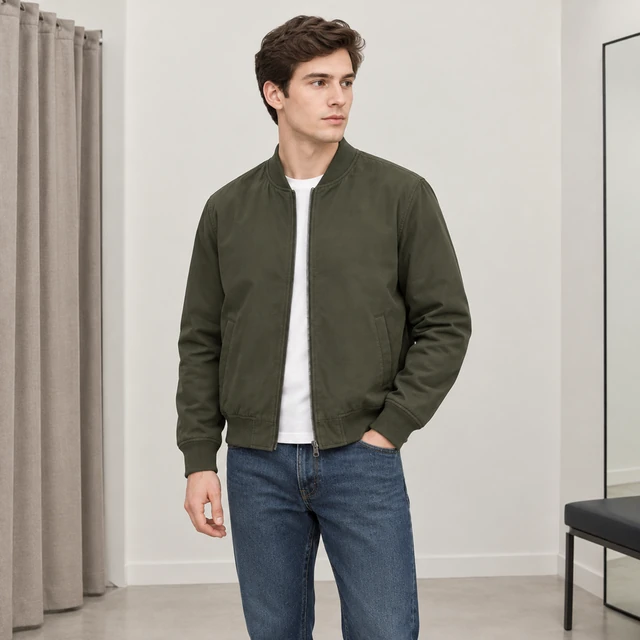
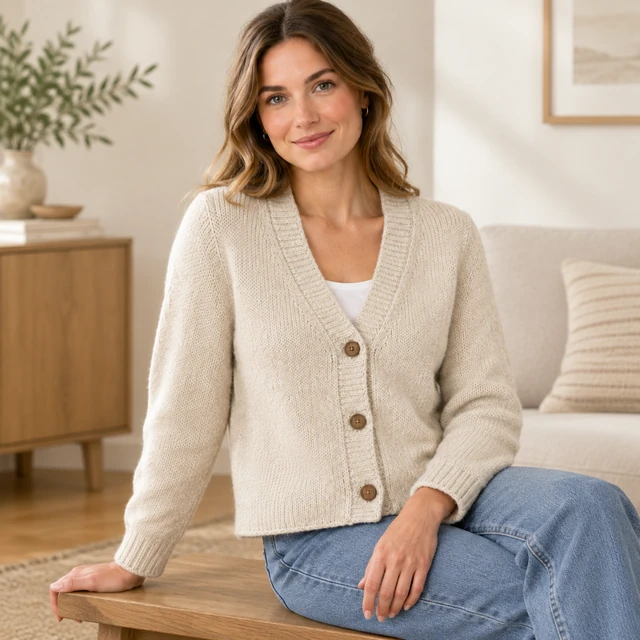
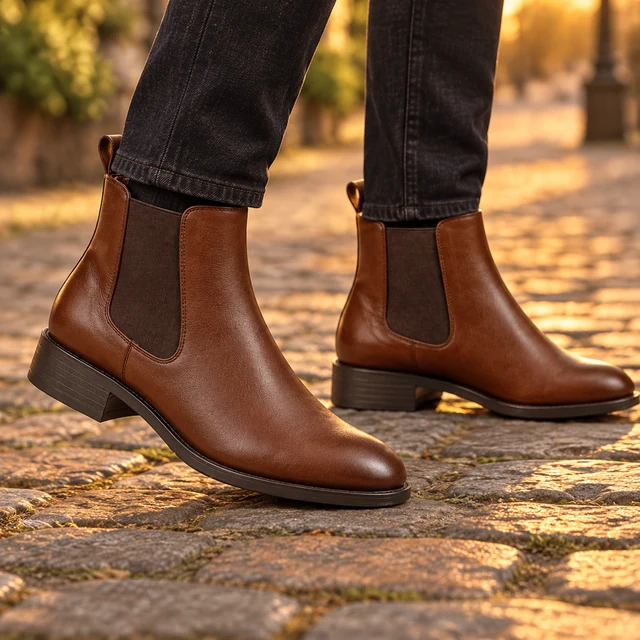
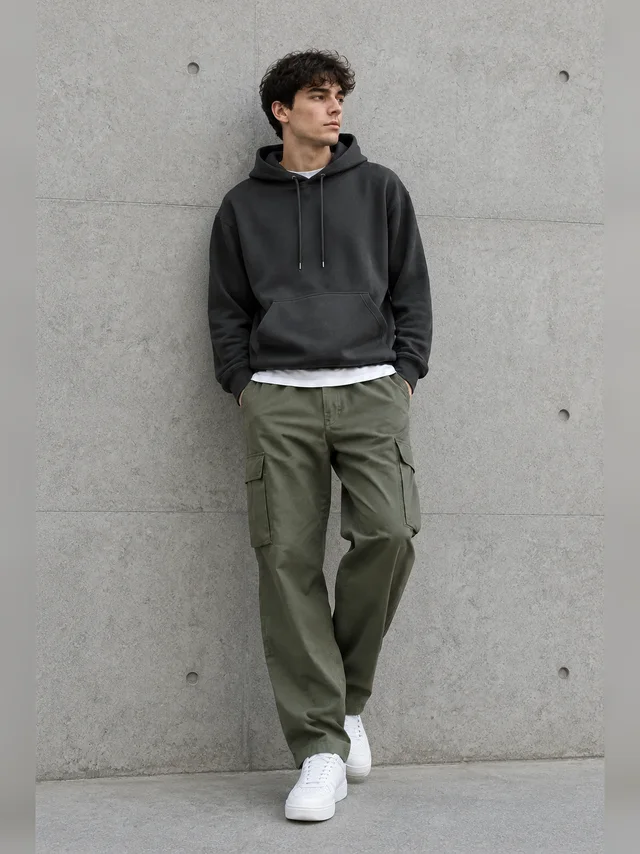
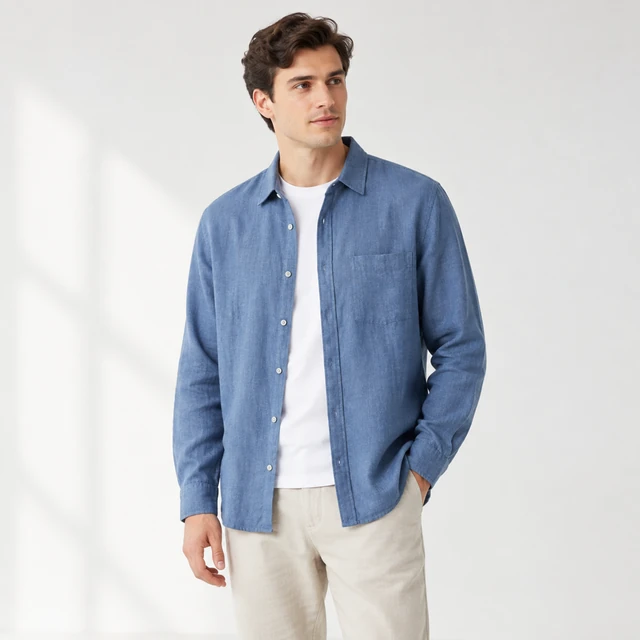
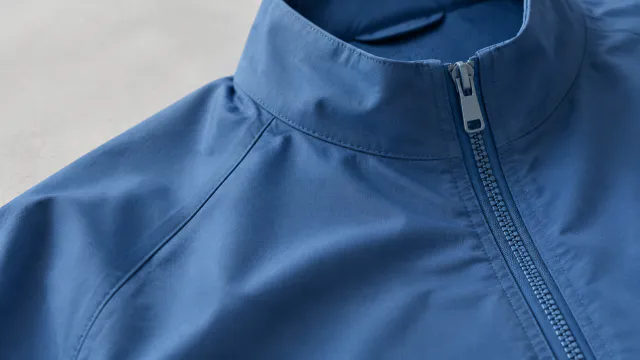
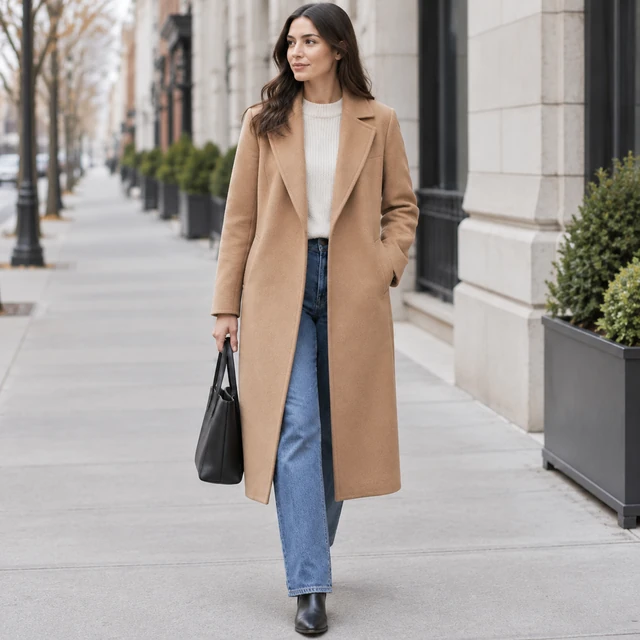
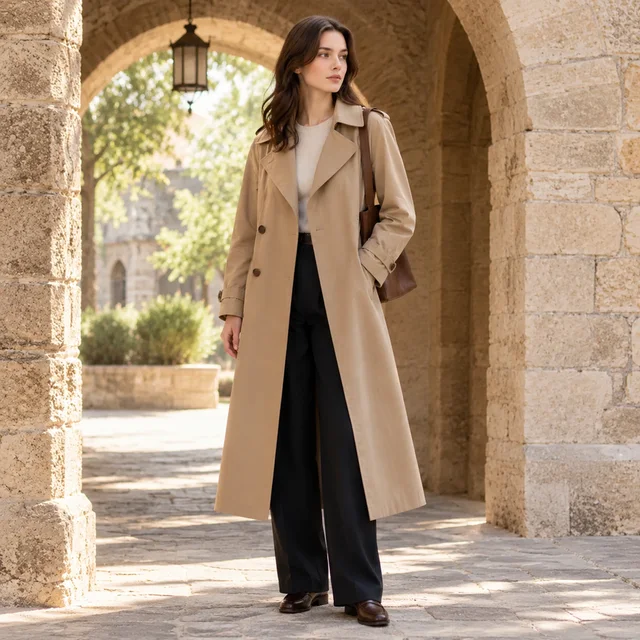
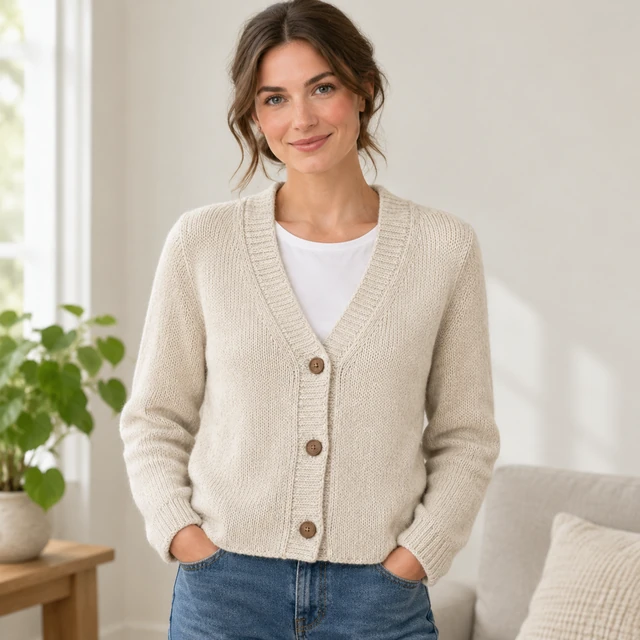
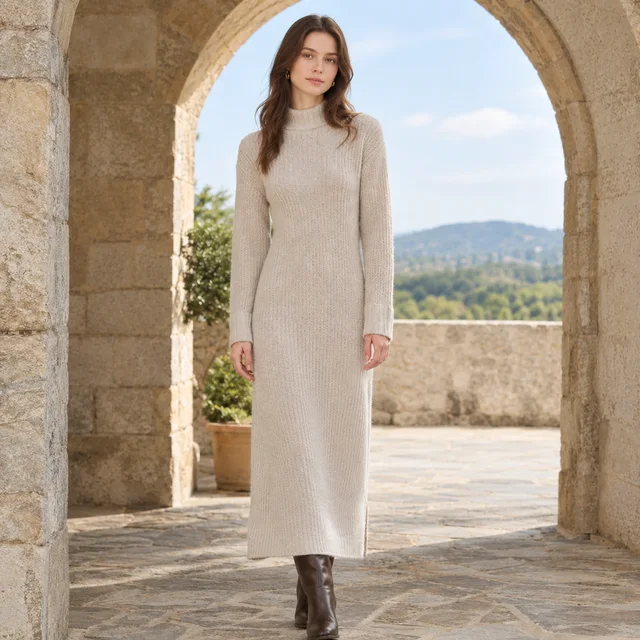
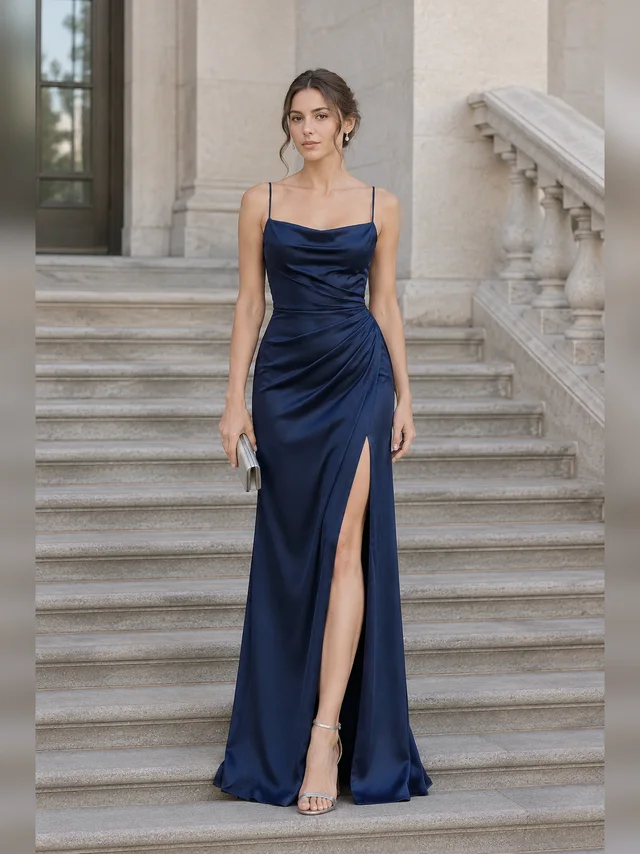
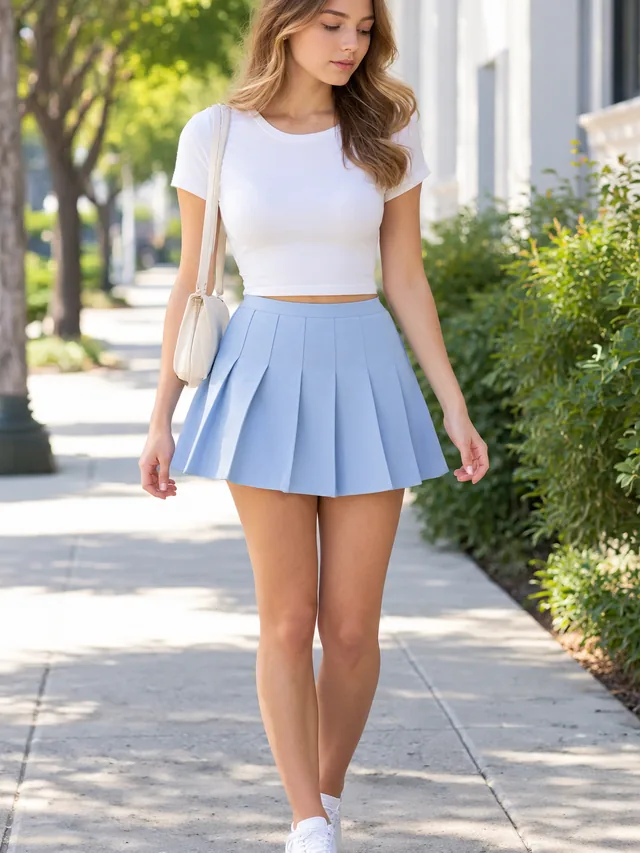
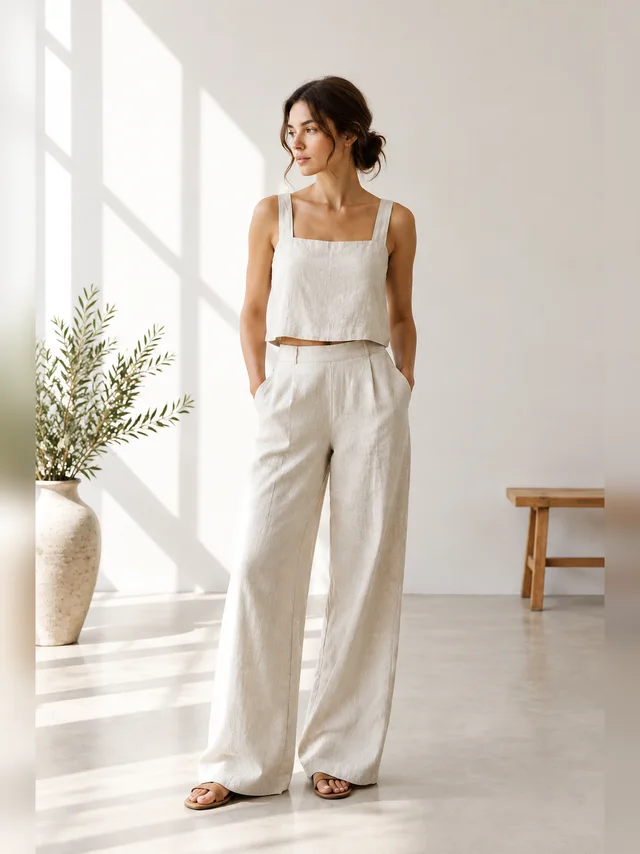
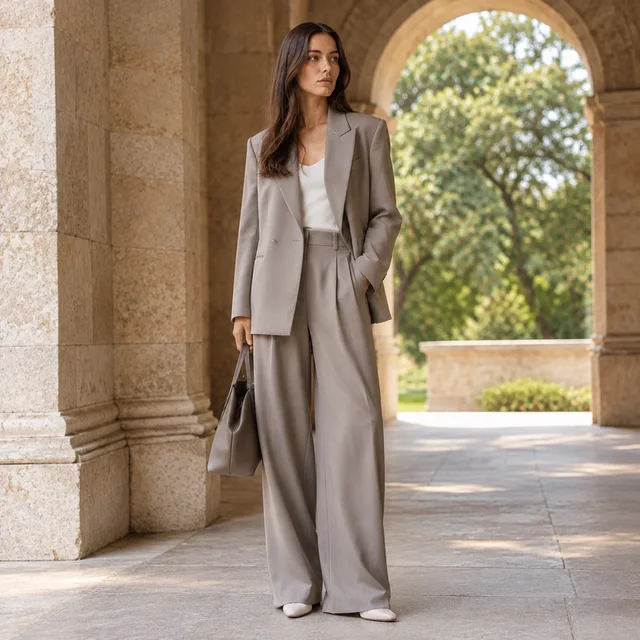
An on-model clothing photo gives shoppers a clearer view of a garment’s silhouette when it stays recognizably like the source item.
Show the collar, closures, pockets, sleeves, and hem in one clear view.
Describe the pose, base layer, light, and room for the on-model photo.
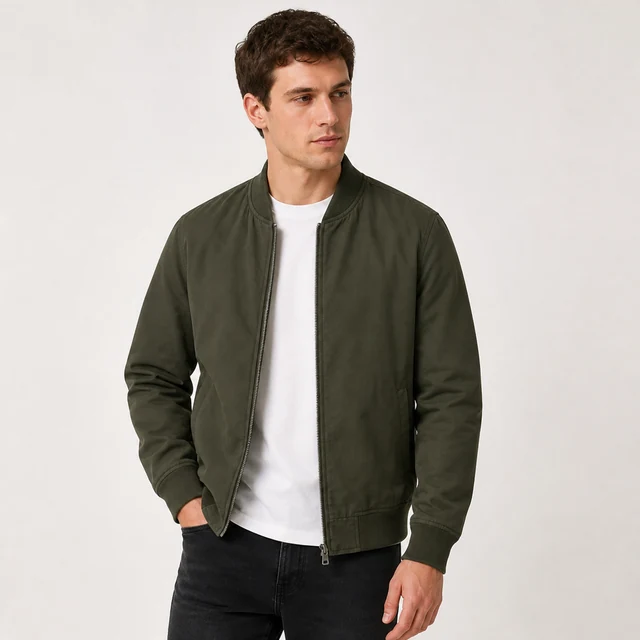
Add the real size chart and garment notes to the product listing.
Pick the garment type and styling context that fits the collection.
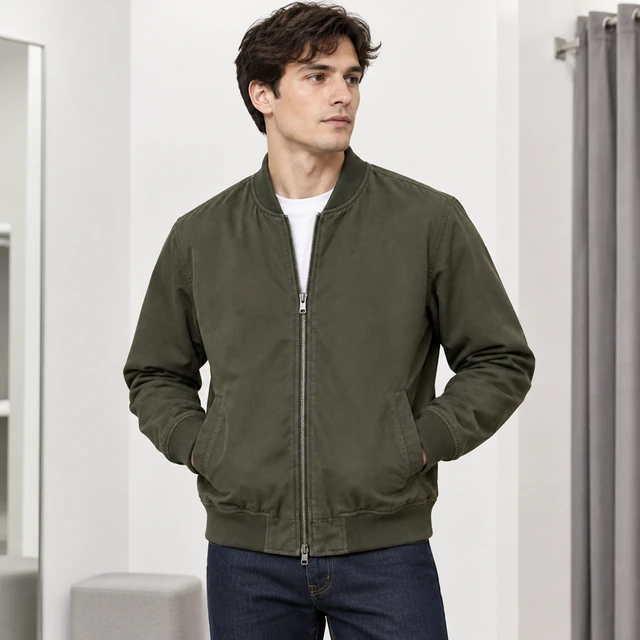
A square front view keeps its collar, zipper, hem, and pockets visible beside listing details.
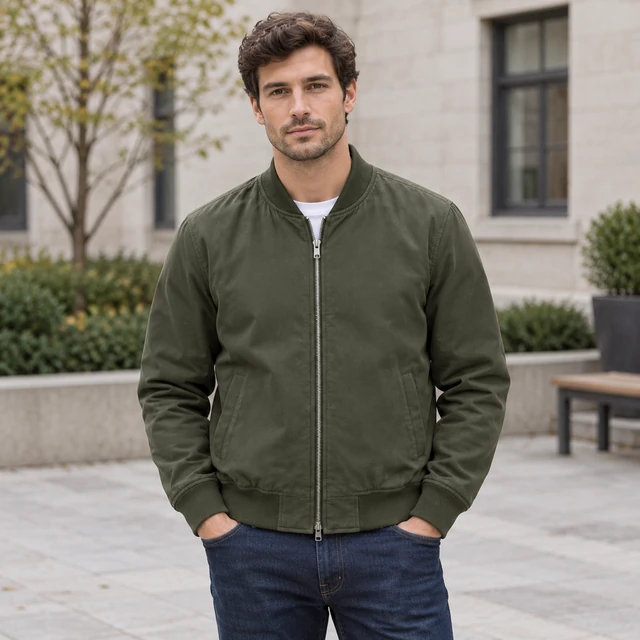
A square city scene places the bomber in context beside its product details.
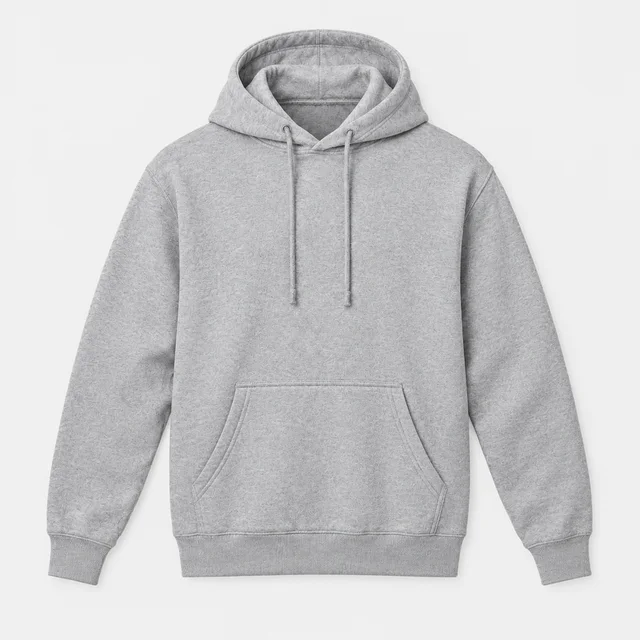
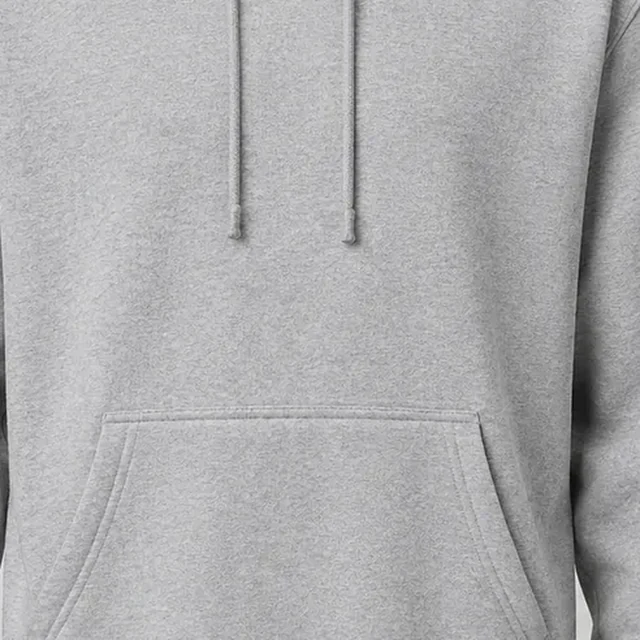
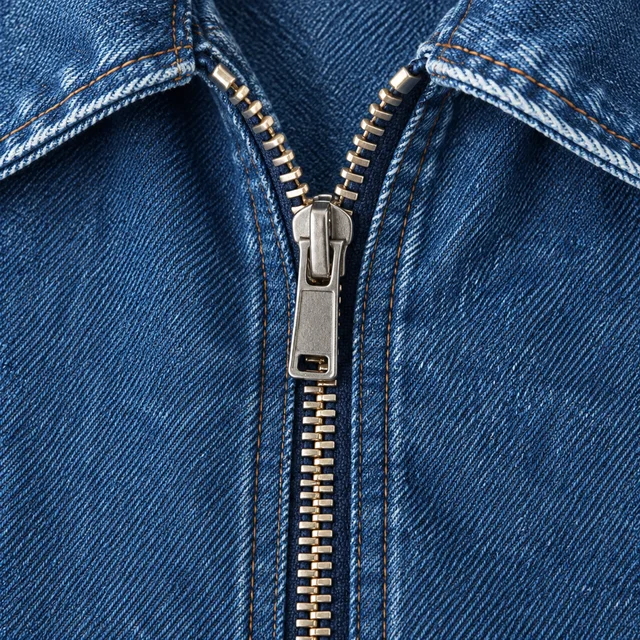
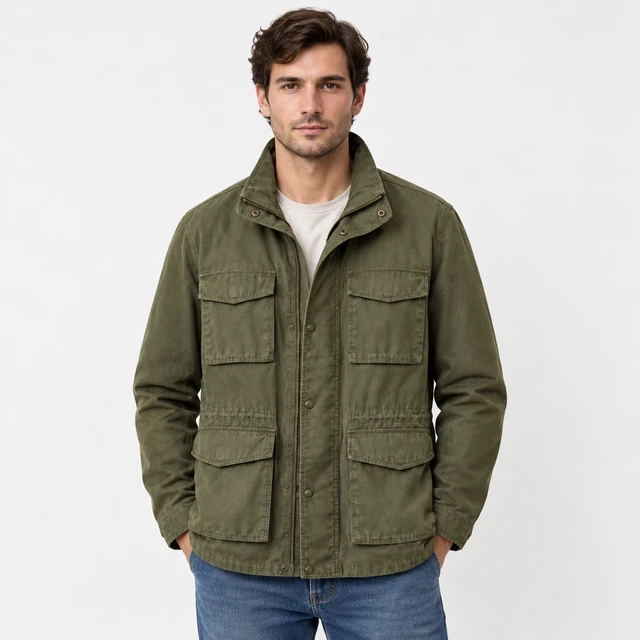
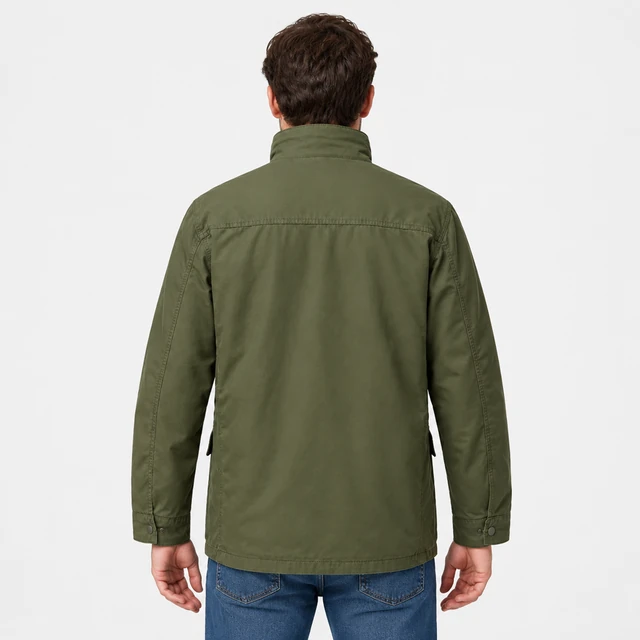
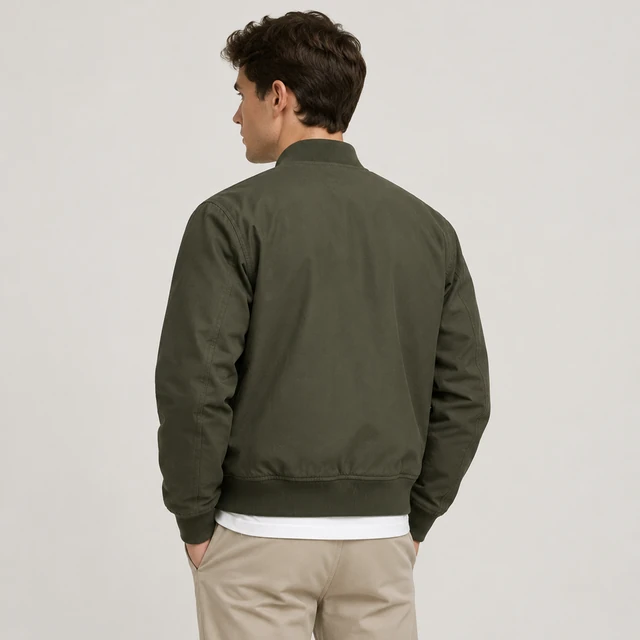
These details are added in your editor after download.
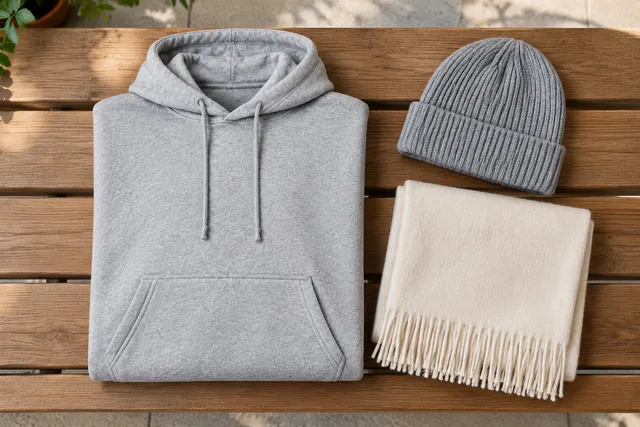
Choose another everyday scene, then add your product photo.
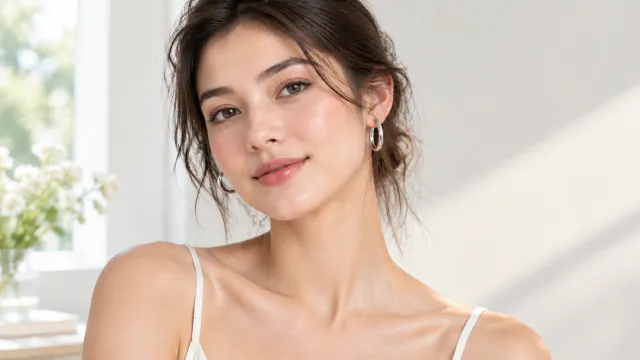
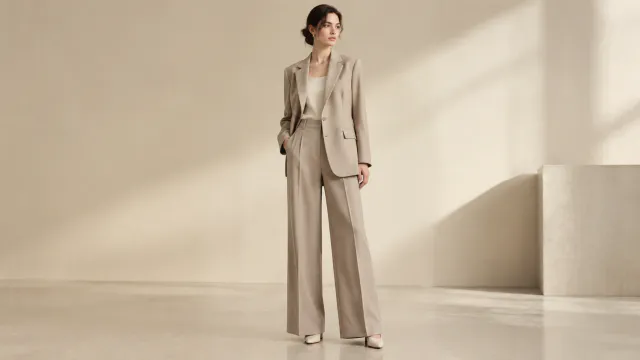
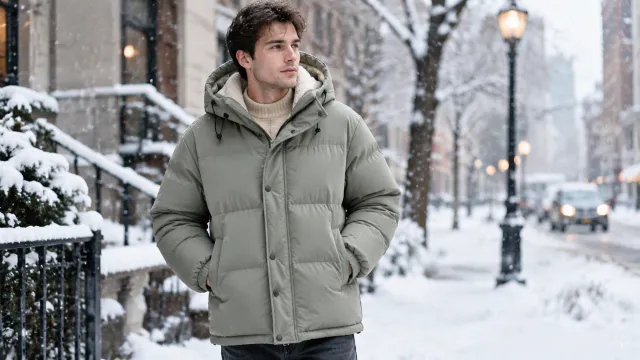
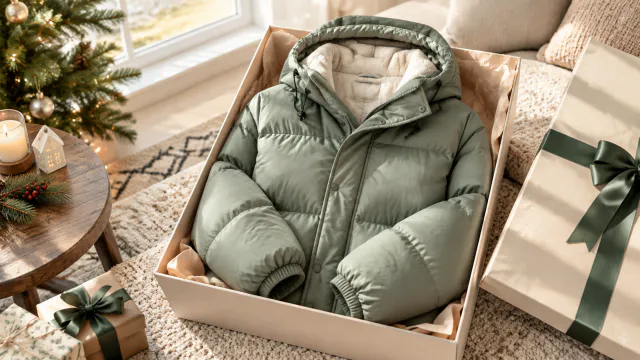
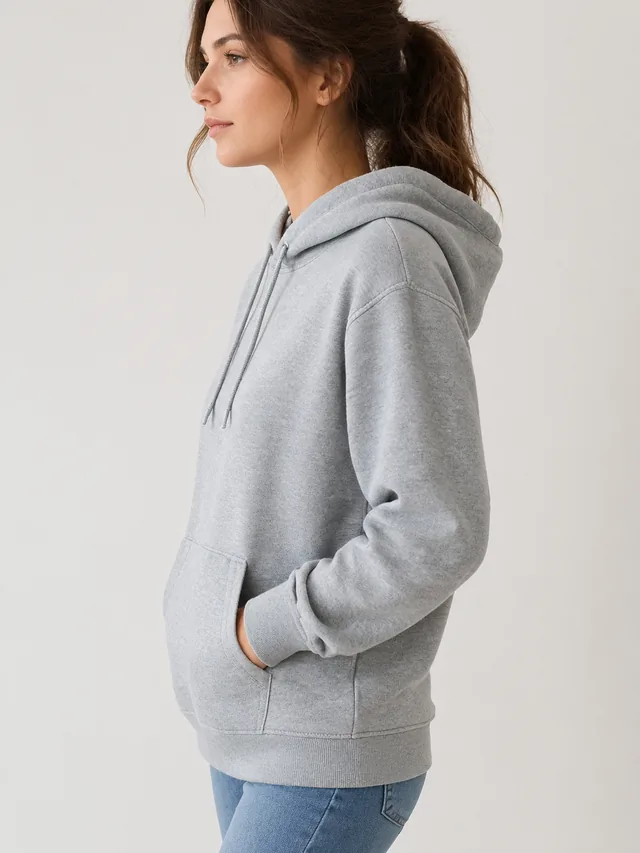
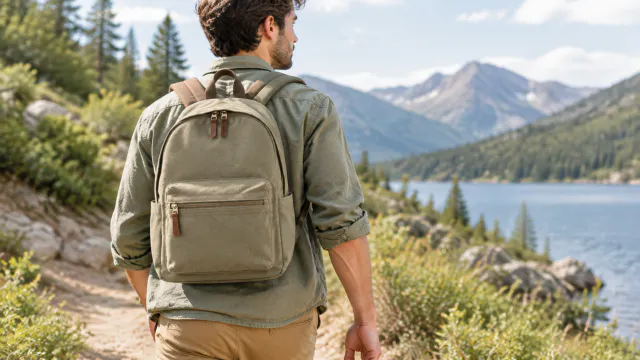
Front, back and seated views help shoppers judge drape and fit. Put sizing details in your listing text.
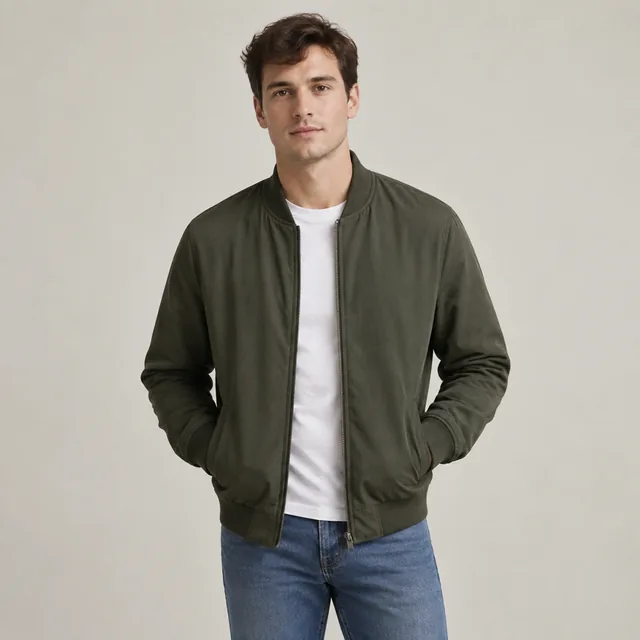
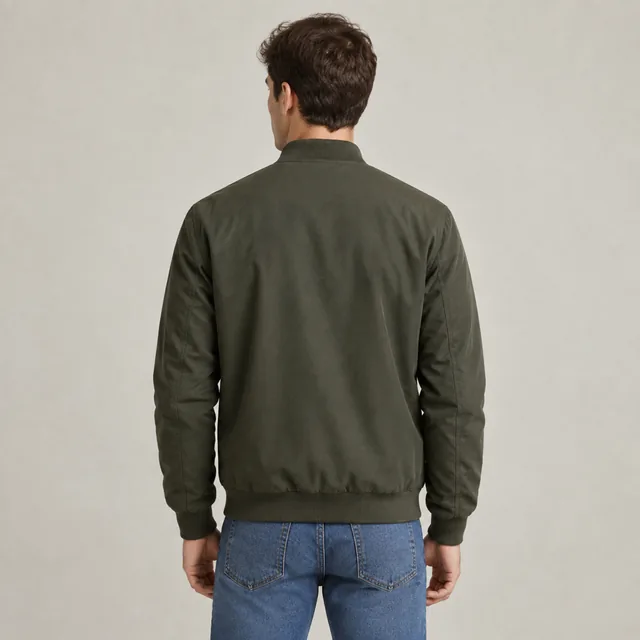
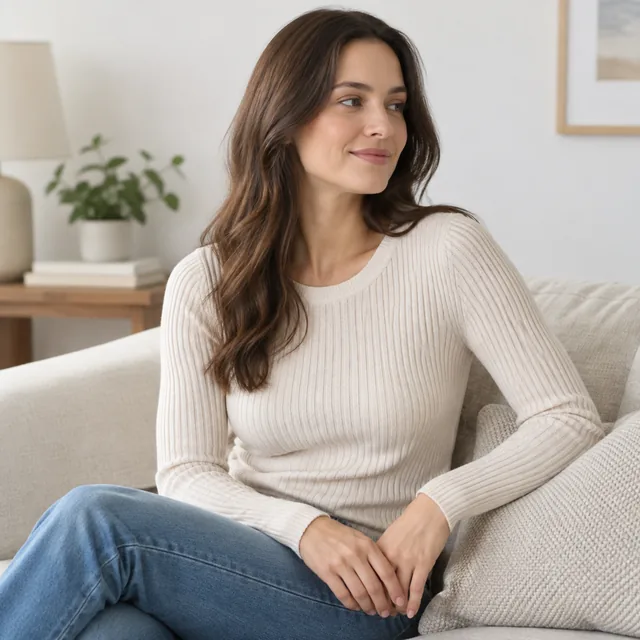
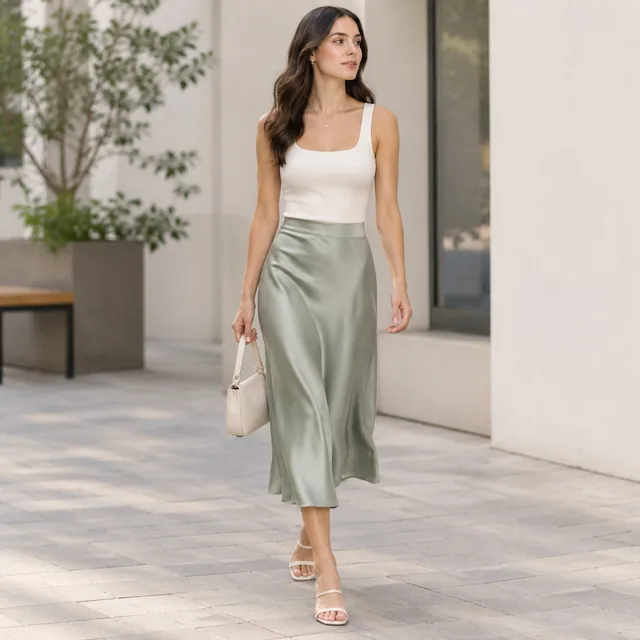
No. This is for you as the seller: it turns your garment photo into a photo of the item being worn, which you then post on your store or social pages.
There's no saved model to reuse, so the person can look different from one photo to the next. Describing age, hair, and build consistently helps the set feel related.
It shows the style and how the fabric drapes, not an exact fit for every body. List your size chart and garment measurements alongside the photo so buyers can pick the right size.
Lay the garment flat or hang it straight, show the full outline, and use even light. A clear front view gives the model photo more reliable shape and color.
Upload one product photo. See the cost before you start.