 AIVideosUGC
How to Take Product Photos for AI With Just Your Phone
Learn how to take product photos for AI with just a phone and a window: the photo you upload shapes every image and video made from it.
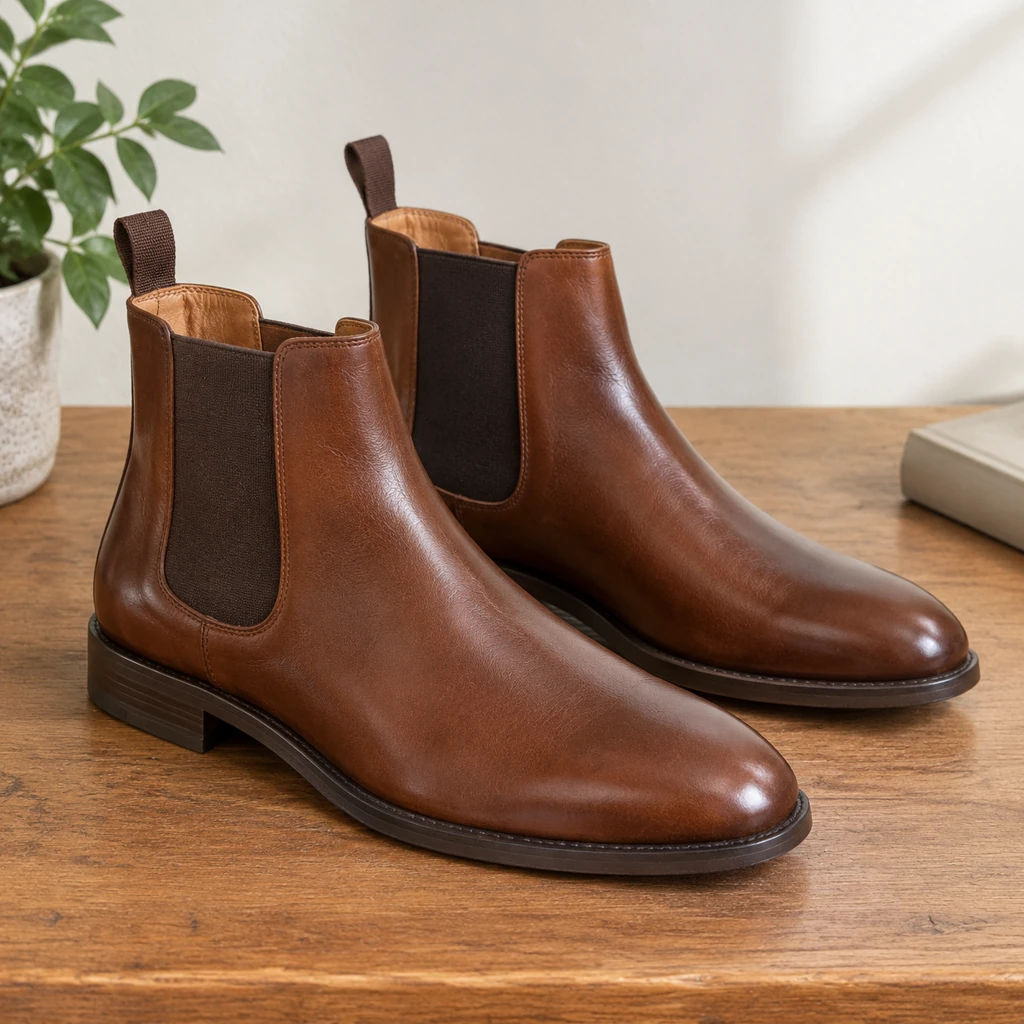
Why the starting photo matters
An AI tool can only work with what it can see. If the label is blurry in your photo, the new image has to guess what it says. If your kitchen light turned a white mug slightly yellow, that yellow tends to carry into every version you make.
A sharp, evenly lit source photo gives the generator clearer product details to work from. Review each result against the real item; the credit cost appears before you start.
Set up the shot
Start with light. Put a table next to a window during the day, where the light is bright but indirect. If the sun hits the table directly, tape a thin white sheet or baking paper over the glass to soften it. Turn off ceiling lights so warm and cool light don't mix on the product.
Next, the background. A plain surface is enough. A sheet of white poster board, curved so it runs under the product and up the wall behind it, hides the table edge. Plain gray card or a light wooden tabletop also works. Skip patterned tablecloths and busy shelves.
Then prep the product. Wipe off dust and fingerprints, peel off price stickers, and straighten anything soft, like a scarf or a pouch. Small flaws are easy to miss on a phone screen and obvious in a finished ad.
Frame the shot
Hold the phone at the same height as the product for the main front view. Shooting from above makes bottles and boxes look like they're tipping backward.
Fill most of the frame with the product, but leave a little space on every side so nothing gets cut off. Use the regular 1x lens and step closer instead of pinching to zoom, which softens fine detail.
Tap the screen on the label to focus. If white areas look washed out, slide the brightness down a little until texture comes back. Turn off portrait mode, filters, and any beauty setting. They change edges and colors, and the AI may carry those changes into a new result.
Keep the phone still. Rest it on a stack of books or a small tripod and use the volume button or a two-second timer to take the shot. Even a slight shake is enough to soften small print.
Take a few extra angles
One good front view is the minimum. A few more shots from multiple angles give you options later, when you want a close-up detail image or a video that starts from a different side. For multiple-angle product photos, upload each view instead of asking the tool to guess the unseen side.
For a ceramic mug, that might be the front with the handle on the right, a top-down shot showing the glaze inside, and a close-up of the stamp on the base. For a sneaker, try the side profile, a three-quarter front view, and the sole. For a serum bottle, shoot the front label, the back label, and the dropper held in a hand for scale.
Clothing needs a little more care. Lay the piece flat on a made bed or hang it on a plain door, smooth out creases with your hands, and shoot straight on from above or in front. Add one close-up of the fabric so the texture and stitching are clear.
Check the photo before you upload
Zoom in on your phone screen. Is the text on the label sharp enough to read? Are the product's edges crisp rather than smeared? Hold the real item next to the screen in daylight and compare the color.
Make sure your product is the only thing in the frame. Move anything that pulls attention, like a coffee cup or a laptop lid. Upload the original photo file, not a screenshot or a file transferred through a chat app, since those are usually shrunk.
Pair the photo with a clear description
In AIVideosUGC, you upload the photo and add a sentence about what you want. Describe the product and the scene in plain words. "A matte black water bottle on a gym bench, early morning light" gets you much closer than "make it look amazing." The same goes for video: "The bottle turns slowly on a wooden counter while sunlight moves across it" tells the tool what should happen.
Leave out prices, discount codes, and headlines. AI-made lettering can come out with errors, so add those words afterward in Canva or your ads manager, where you control the exact spelling. When your photo is ready, try it with White Background Photos for listings or Product Photos for every other look. For ideas, look through the product photo and video examples to see what each starting photo became.
Checklist
- Window daylight, ceiling lights off
- Plain background with no clutter
- Product cleaned, stickers removed
- Phone at product height, 1x lens, no filters
- Label readable and color close to the real item
- Original file, not a screenshot